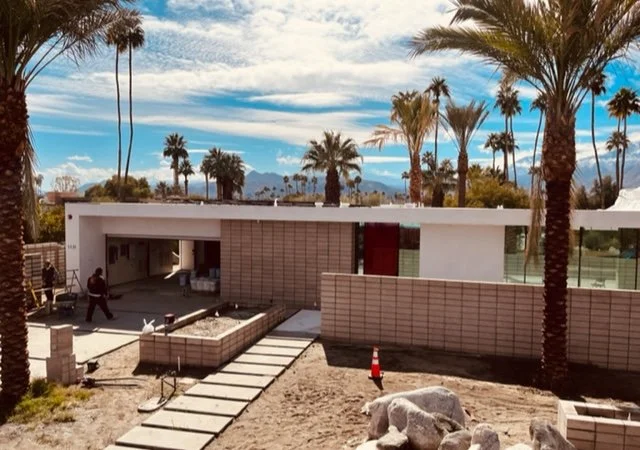
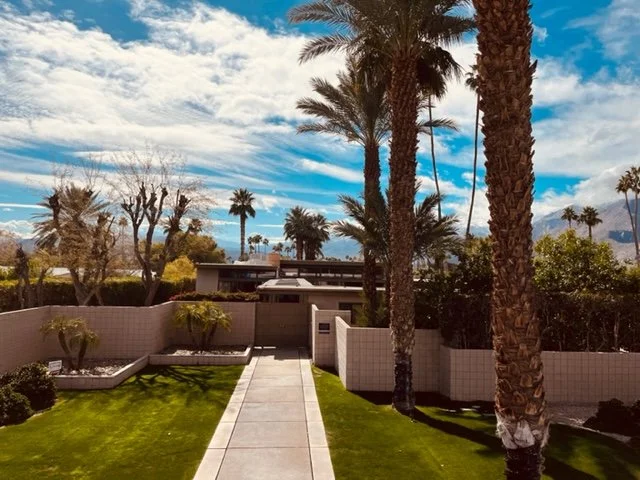
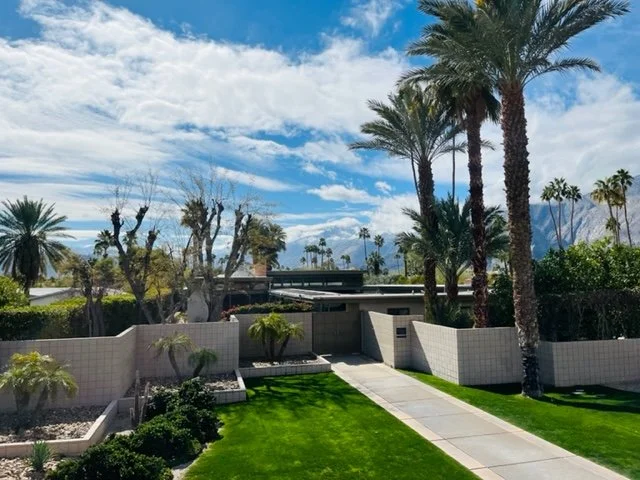
If you have read our other posts on zoning codes in Seattle, you might be confused. Don't worry, because we are confused too! The rules keep changing over and over again, so we are doing our best to keep up with it. The reason they have changed (most recently) is related to the state of Washington’s goal to create more housing throughout the State. The state government mandated that all residential lots are allowed to have at least 4 dwelling units (with certain exceptions). The local jurisdictions struggled to implement those new rules, so they did it in a very haphazard way. Architects had to figure out how to implement the new rules in a very short amount of time, and this was very challenging because none of it was very clear. The rules were actually not even published in a ordinary and public-facing way like they used to be. In fact, when you look up the land use codes on the ordinary website, it still shows you the old codes at the time of this writing. You have to be a detective to dig up the real rules in their current state, and even then, it is never certain which rules are adopted into law and which are still proposals. We will summarize those new codes below to the best of our ability.
Floor Area
Floor area ratio is basically a calculation of how much living space you are allowed to have on a property. The building department incentivizes land owners to have more dwelling units on a property by allowing more floor area. The calculation is somewhat complicated to understand, but essentially, if you have 1 dwelling for each 4000sf of land, you are allowed to have a floor area ratio of 60%. In other words, if you have an ordinary 5000sf lot with just 1 dwelling unit on it, you could have 3000sf of floor area in that dwelling since 60% of 5000sf is 3000sf. The ratio changes to 80% if you have 1 dwelling per 2201sf-4000sf of lot area. For example, if your lot is 5000sf, and you have 2 dwellings, the math looks like this: 5000/2=2500. 2500 is between 2201 and 4000, so you would qualify for the 80% ratio. This would enable you to have 4000sf of floor area. Next, the ratio changes to 100% if you have 1 dwelling per 1601sf-2200sf of lot area. For example, if your lot is 5000sf, and you have 3 dwellings, the math looks like this: 5000/3=1666. 1666 is between 1601 and 2200, so you would qualify for the 100% ratio. This would enable you to have 5000sf of floor area. Lastly, the ratio changes to 160% if you have 1 dwelling per 0sf-1600sf of lot area. For example, if your lot is 5000sf, and you have 4 dwellings, the math looks like this: 5000/4=1250. 1250 is less than 1600, so you would qualify for the 160% ratio. This would enable you to have 8000sf of floor area. You can apply that logic to a lot of any size for any number of dwellings. Note that if your lot is less than 5000sf, you are always allowed to have at least 2500sf of floor area no matter what the math says.
It is important to note that there are exceptions to what counts as floor area and what does not. The big idea is that usable floor space counts against your limit. Unfortunately, garages do count as useable space, so there’s no exception there. The city does allow you to exclude basements in most cases, so if you’re willing to dig deep and spend money on a basement, that extra square footage will not count against you. There are also nuances to the rules for projects that are stacked dwellings, low income dwellings, senior housing, and projects within close proximity to frequent transit service, but we will not cover those concepts here since they are very specific.
Maximum Density
There is also a limit to the number of dwellings you can have on each lot. The rules are quite complicated, but generally speaking, there are benefits that mainly apply to stacked dwelling units and dwellings in close proximity to frequent transit service. Otherwise, you are limited to one dwelling per 1250sf of lot area. This means that if you have a 5000sf lot, you can have 4 dwelling units since 5000/1250=4. If your lot is less than 5000sf, there is also an exception that still allows you to have 4 dwelling units unless there is a wetland, steep slope, shoreline, or other environmental critical area (ECA’s) on the lot. 5000sf is the magic number for a property. In fact, if any new lots are created, they must be at least 5000sf. If a lot is less than 7500sf and more than 1/4 mile from a major transit stop, it is allowed to have up to 6 dwellings as long as it doesn’t have any ECA’s as described previously, and as long as at least 2 of the units are designated as low-income housing. An ECA on a lot gets tricky for density calculations because you also have the option to calculate the number of residential units allowed as described previously and then to multiply it by the percentage of the lot that is NOT covered by an ECA. Regardless of the calcs, a lot is always allowed to have at least one dwelling unit. If the math results in a fraction over 0.85, you get to round up.
Height Limit
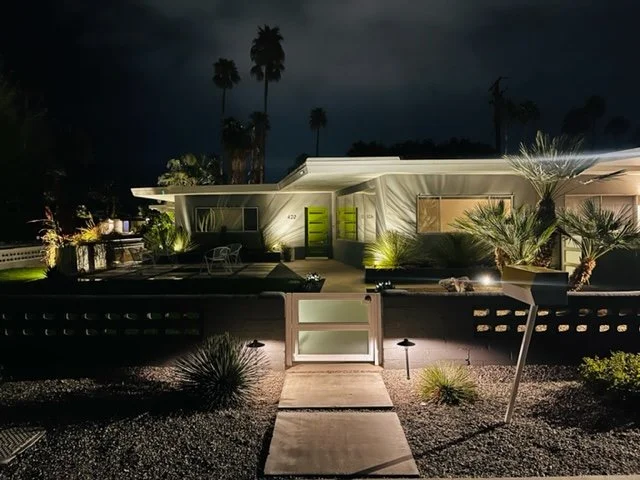
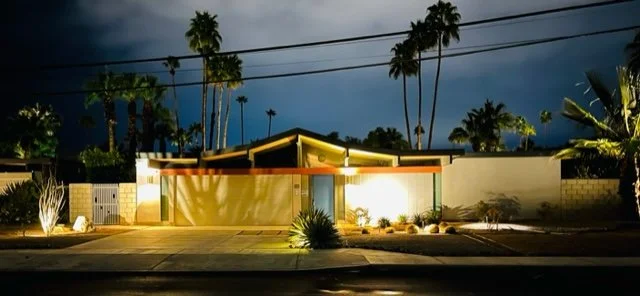
Generally, the height limit of residences is 32 feet plus an additional 5 feet for gabled roofs sloped at least 4:12. Shed and butterfly roofs are allowed to extend an additional 3 feet (and 4 feet at the overhanging portion). Railings for roof decks on flat roofs are allowed to extend an additional 4’ above the limit. Solar panels can also extend 4 feet above the limit. The city allows you to increase the height limit to 42 feet if the front setback is increased to 20 feet and there are at least 3 dwelling units. The higher limit is also allowed in certain situations with stacked dwelling units, but those nuances will not be covered here. Accessory structures (like garages) are limited to 12 feet in height when they are located in required setbacks, and the ridge of the roof can extend an additional 3 feet if it is pitched at an angle of at least 4:12. Lastly, older homes can exceed height limits by an additional 8 inches for the sole purpose of adding insulation.
Lot Coverage
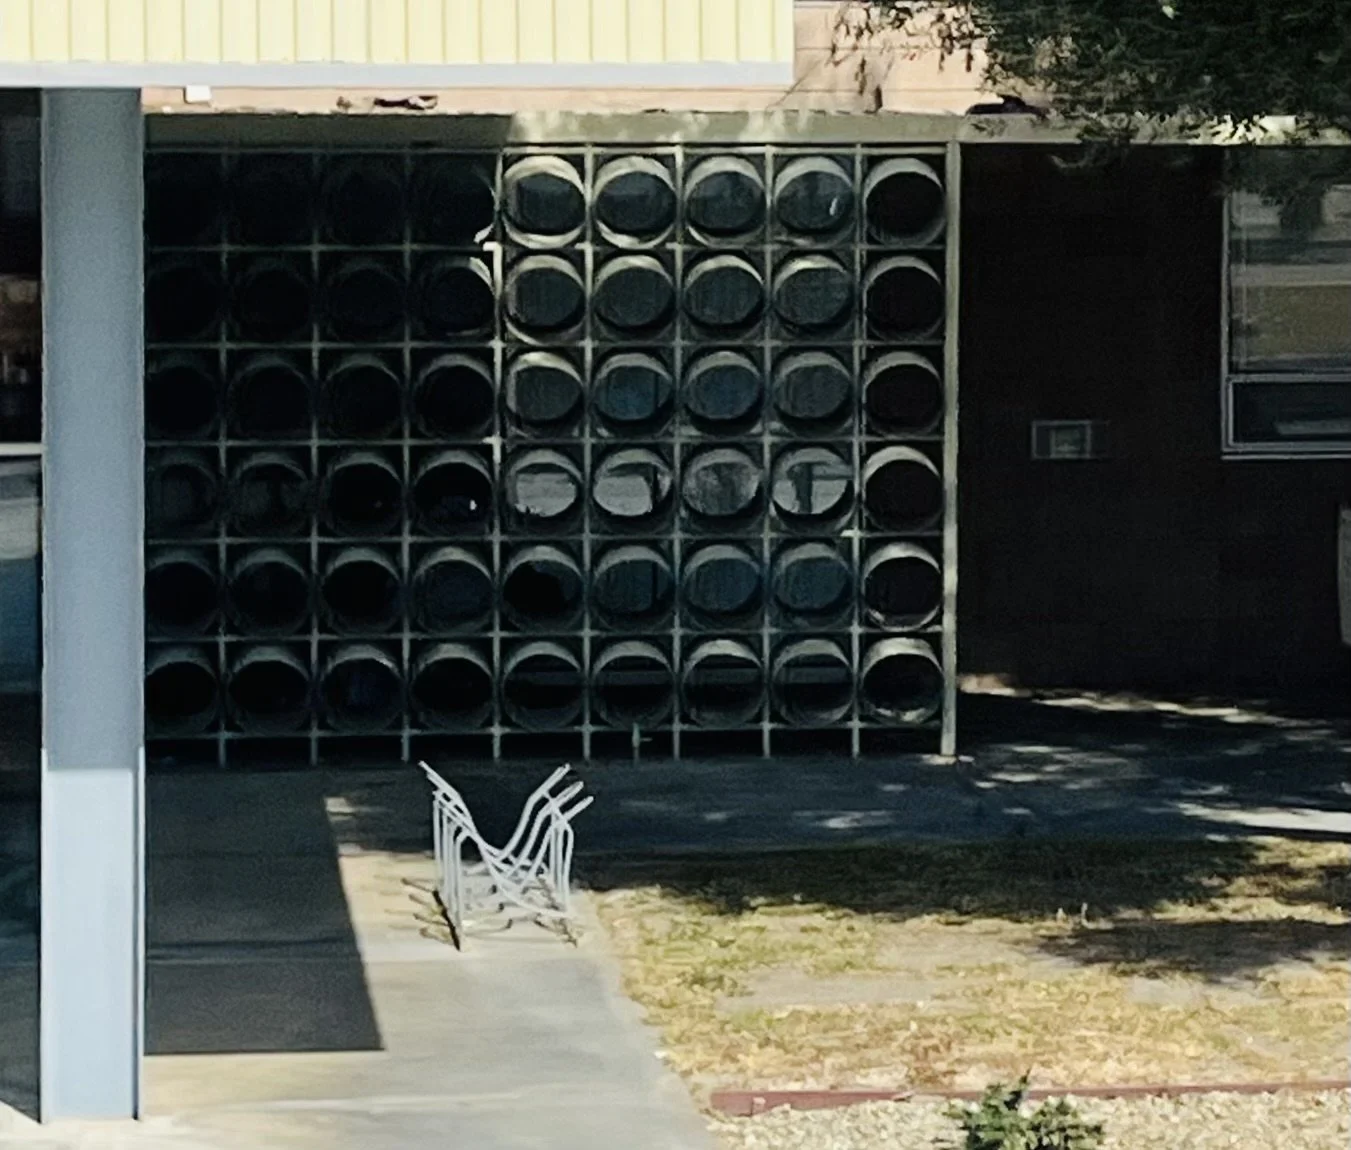
The maximum percentage of a lot that can be covered with buildings is 50%. This means a 5000sf lot can have up to 2500sf of lot coverage. When calculating lot size for this calculation, you must exclude any environmental critical areas from the lot size. Essentially, any structure taller than 3 feet counts against lot coverage. Things that are exempt from lot coverage are decks less than 36 inches tall, unenclosed porches/steps less than 4 feet tall (above grade or street lot line), and most unenclosed structures. The maximum lot coverage is increased to 60% for stacked dwellings and also when dwellings that are in a frequent transit area are less than 3 stories and arranged around a shared green space that is at least 20% of the lot size.
Setbacks
When a lot has one or two dwelling units, the front and rear setback are 15 feet, and the side setbacks must calculate to an average of 5 feet (3 feet minimum). With three or more dwelling units, the front and rear setbacks are reduced to 10 feet. If a lot abuts an alley, the rear setback is always reduced to 0 feet. When a lot is less than 5000sf in a frequent transit service area, the rear setback is reduced to 5 feet and the side setback is reduced to 3 feet. Accessory dwelling units only require a 5 foot rear setback (and 0 feet when there is an alley).
There are certain exceptions to the setbacks for some architectural features. For example, roof overhangs, chimneys, and similar features can extend 2 feet into a setback (but never closer than 3 feet to a lot line). Bay windows can extend 2 feet into front and rear setbacks as long as they are no closer than 5 feet to the lot line, less than 10 feet wide, and no more than 30% of that facade. Unenclosed porches and steps that are less than 4 feet in height can extend to within 5 feet of a street lot line and 3 feet of a side lot line. Guardrails less than 42 inches high may exceed the 4 foot limit. Porches and steps can be covered if the cover is 5 feet away from lot lines and less than 15 feet above grade. That roof cannot be used as a deck either. The total area of porches attached to an individual dwelling unit is limited to 60 sf when located within a setback. When structures are less than 18 inches tall, they are allowed within any setback. Always be sure to leave at least a 2.5 foot wide walking path in side setbacks. Unenclosed structures are allowed within rear setbacks if they are not within 5 feet of that rear lot line (unless there is an alley), they are less than 12' feet high, and they are separated from the dwelling by at least 3 feet.
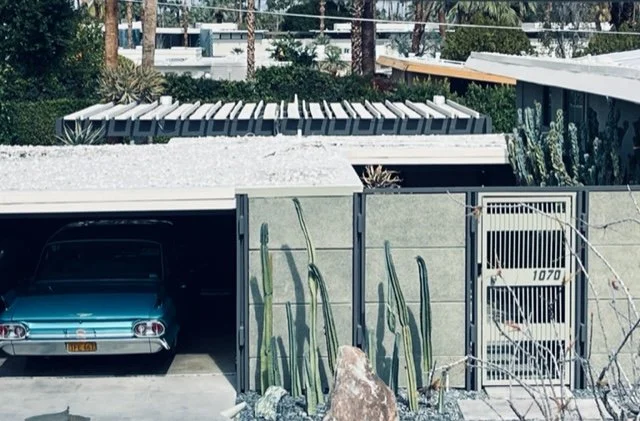
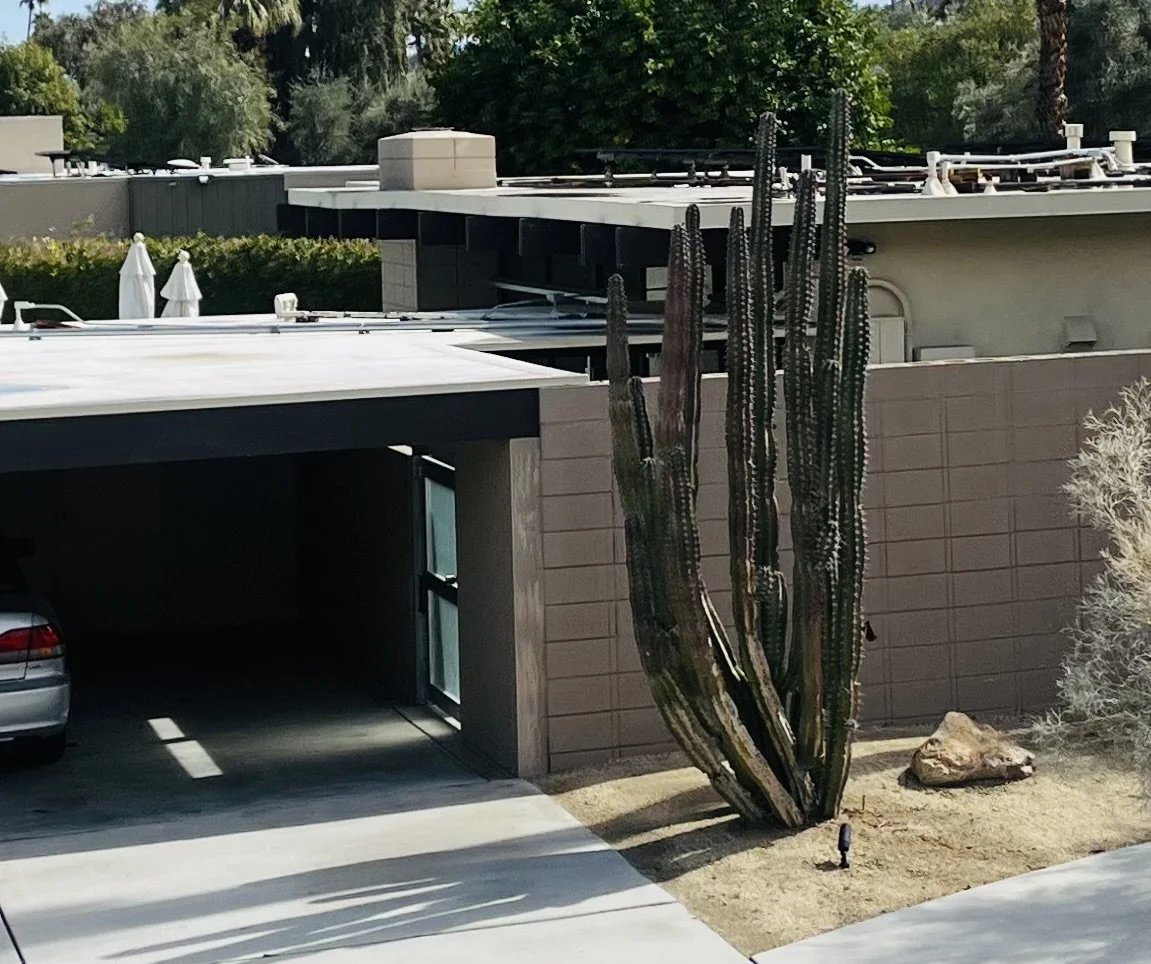
Detached garages and carports have different setback rules. They are allowed to be within side setbacks when they are within 40 feet of an alley centerline or within 25 feet of the rear lot line when there is not an alley. Otherwise, an agreement must be made with the abutting neighbor. They can be within rear setbacks as long as they are not within 5 feet of the rear property line. When one-car garages and carports are a maximum of 14 feet wide, they are limited to 300sf within the front setback. Two-car garages and carports can be a maximum of 24' feet wide with up to 600sf within the front setback. Their roof overhangs are excluded from coverage and size limits when less than a 2 foot extension, and the roofs of garages may not be used as decks when they are in rear or side setbacks.
Fences are allowed to be 6 feet tall within setbacks, but they may only be 4 feet tall within street setbacks. When a fence is on top of a retaining wall, they are limited to 4' feet tall, and the combined height of a retaining wall and fence cannot exceed 9.5 feet within setback areas. Fences are required to be setback at least 3 feet from retaining walls. Mechanical equipment must be at least 3 feet away from any lot line.
Existing structures that do not conform to these rules are allowed to be kept in place. Additions to those structures may also extend into a setback to the same amount as long as they are never closer than 3 feet to a lot line.
When there are more than one structure on a lot that contains floor area, those structures must be separated by at least 5' feet from each other and architectural features can extend 2 feet into these separation areas. Keep in mind that fire ratings are required when structures are less than 10 feet from each other.
Amenity Area
Each dwelling unit must have access to either a common or private amenity area. Those amenity areas must be at least 120sf and have a width and depth of at least 8 feet. Balconies are allowed to be as small as 60sf with a width and depth of at least 4 feet. Amenity areas may not include driveways, parking, bike parking, trash storage, or enclosed structures. Also, pathways that serve multiple dwelling units cannot be within amenity areas. Environmental critical areas may count as amenity areas. When adding one dwelling unit to an existing dwelling, amenity area is not required. Amenity area can also be exempted when development retains a tier 2 tree, when a certain tree point score can be achieved, or when new or existing medium and large trees can cover 10% of a lot at their maturity.
Tree Requirements
When adding a dwelling unit, trees must be planted or retained to earn a certain tree score as listed below or at least one new tree for every 2500sf of lot area (whichever calculates out to the greater number of trees). The tree score calculations are commensurate with the different dwelling density ratios that were described in the floor area ratio commentary previously. When there is less than 1 dwelling per 4000sf of lot area, you must earn 1 point for every 500sf of lot area. When there is 1 dwelling per 2201sf to 4000sf of lot area, you must earn 1 point for every 600sf of lot area. When there is 1 dwelling per 1601sf to 2200sf of lot area, you must earn 1 point for every 675sf of lot area. When there is 1 dwelling per 1601sf or less of lot area, you must earn 1 point for every 750sf of lot area. Preserved trees and new trees count toward the scoring. Depending on the size and species of trees, there are different point values for each tree assigned per Table B of 23.44.120. Generally, trees must be planted a specific minimum distance away from dwelling units ranging from 2 feet to 8 feet or more away. The Dept of Transportation decides how many street trees must be provided when one or more dwellings are added.
Parking
Parking must typically be accessed via an alley when there is an alley. Otherwise it can be accessed from a driveway connecting to the street. If access to parking passes through a setback, it may be used for parking. Surface parking is generally not allowed to be within 20 feet of a street lot line or within 5 feet of a side street lot line unless it is accessed through an alley.
If you’d like to learn more about our design process, visit www.josharch.com/process, and if you’d like to get us started on your project with a feasibility report, please visit www.josharch.com/help