Nightmare Builder or Client? by Josh Brincko

We all hear about nightmare builders. There is a reputation that builders take advantage of people. Builders are a different breed than the architects and the clients that hire them. We think of builders as blue collar workers. They are typically not college educated like their clients. Instead, the builders are educated on the job by the repetition of actually doing their trade. They learn by doing, and they eventually become really good at it. They are generally not “book-smart” and excel at tactile and visual learning. This is in contrast to the clients who are generally book-smart and sit at a desk typing emails all day. Builders generally don’t think the same way and cannot operate technology with the same prowess. This different mode of learning and thinking puts builders and clients at odds with each other. I don’t think either way is better, but learning to cope with one another is essential.

As an architect, I work with many many many builders. I get to see how they work, what they charge for it, and the outcome. In my experience, I have only encountered two builders that I consider nightmare builders that have a low ethical compass. All the other builders, which are 99.9% of them, do have good morals, and they strive to do the right thing. These builders vary in their skill level, in their degree of interest in their work, and their ability to provide the outcome requested of them by clients. This all boils down to setting expectations. The client needs to have reasonable expectations for the builder, and the builder must set clear expectations for the client. If the client wants to scrutinize items down to the inch or fractions of an inch, then the client must expect the cost to be higher to account for the extra planning, craftsmanship, and periodic pauses for approval and adjustment as required to achieve that meticulous goal. If the client doesn’t care about fine detail, then they can expect the builder to make assumptions and build a reasonable product similar to the intended goal at a lower cost. 

The misalignment with expectation is really the root cause of being considered a nightmare builder or nightmare client. Going into any project, the builder must assume the cost of material and amount of labor necessary to give the client what they expect. These assumptions are based on prior experience. If the client wants a level of detail or quality that exceeds the assumption, the client should expect to pay more for it. If the client wants to spend time scrutinizing all the options before deciding upon a method or material, the client should realize that extra time costs money, and additional administrative costs will raise the price to achieve the outcome desired. The builder is not in the business of running a “construction university,” so the client should expect to pay tuition if they want overly detailed explanations on means and methods of construction. It is the builder’s job to meet the design intent and performance requirements, and there are many ways to arrive at that outcome. It is up to the builder to decide how to get there.

When a client excessively changes their requests, they put subcontractors and material suppliers “through the ringer”, and those clients need to realize that those subs and suppliers will either refuse to do the work or need to charge more to compensate for the added difficulty. 

Clients must remember that builders are experts in their trade, and they have already vetted the best subcontractors and suppliers that work best with their practices for the right price. If a client interrupts those practices, the builder is not performing within their tested, tried, and true system. This causes unknowns which generally causes prices to go up. 

As an architect, I work on dozens of projects at a time, so I get to see current market rates for things. I know when to call “bullshit” on something. Sometimes I’m wrong, and a builder puts me in my place. But usually the builder is in new territory trying a type of work they haven’t done before and are not familiar with the associated costs.

Trusting the builder and architect is key. They are working ethically with the best available information and science at the time a request is made. Everyone wants the same outcome: a great building and a pleasant experience. Clients must do their fair share of taking accountability on the effects of the requests they make. Builders and architects will do their best to set reasonable expectations, so the clients should heed that advice. 

If you’d like to learn more about our design process, visit www.josharch.com/process, and if you’d like to get us started on your project with a feasibility report, please visit www.josharch.com/help

Women in Design by S. Joshua Brincko

Graduating from architecture school, there was certainly a male dominance in the student body and the faculty. As a working professional, this has not been the case for me however. At my first job in Ohio (nearby where I attended school), it was more male dominant, but in the Seattle market, there has been a better balance. My first job in Seattle was more or less a 50/50 male to female ratio.

Why is that? It could be attributed to many factors including university acceptance practices in west coast schools, a different market for design in the Seattle area, and overall progress toward equality in the Seattle area. I have had the opportunity to work with really great designers and some really poor ones of both genders. In my experience, gender has not played any role in the skill level of the people I have worked with. In my small business, I have always tried to hire the best person for the job, and that has happened to be nearly exclusively females. Design is a trade that requires a really good balance of spatial awareness, technical problem solving, and careful organization skills. I have heard people say that one gender is more likely to excel at technical issues and another is better at spatial awareness. I have never encountered this personally, and I have seen both genders struggle and excel at both.

Everyone is different regardless of gender, and I think it’s important to recognize it. This is where equality and fairness come in to play. When you think of the world in a broader context that spans more time and more places than you have been part of, there is an obvious problem historically that still persists today. Male dominant fields exist, female dominant roles exist, but anyone, regardless of gender, is capable of fulfilling them. It is important to participate in the progress that has been made in gender equality and recognize that there’s more work to be done. I’m happy to live in a world where people can acknowledge there is an equality problem and do something about it. I have a wife that has dealt with pay inequalities and a daughter that will benefit from awareness and action on this problem. We teach our kids to look beyond gender, race, and other differences in the things they choose to do, and I think, with time, that this will help to tip the scales to equality. How is this achieved? In our case, it is by teaching ... which really just means we talk about it instead of pretending like there’s no problem. Communication builds awareness. Awareness offers knowledge. Knowledge instigates the power for taking action.

What kind of action can you take? Start with respect. Treating people in an unbiased way is the cornerstone of respect. Honor people for their traits and not identities they cannot control. Hold fairness as a paramount endeavor in you life. Stand up for those who are not treated fairly. Close the pay gaps. Talk to those in power to make them aware of this issue. Convince them to take action. If more people act, the faster the change will happen. I’m proud to have a female dominated workplace and to work with other companies in the construction industry that have beaten the male dominant paradigm. I’m lucky to have a daughter that will benefit from my wife’s diligence to teach her that she has no limits. I’m fortunate to have a son that we teach to treat others fairly. In the past, these issues were not apparent to me. As I’ve heard others close to me talk about equality, I’ve become aware. That is exactly what we need to keep doing. I’m open to ideas for how to broaden the conversation and instigate more rapid change. Thank you for reading this, and thank you for supporting one another and for practicing mutual respect.


Shout out to the awesome women I’ve worked with at Josh Architects: Heather, Holley, Callie, Erin, Jessica, Ester, Yo-yo, Jennifer, Lisa, Shannon, Michelle, and my daughter, Sunny!

If you’d like to learn more about our design process, visit www.josharch.com/process, and if you’d like to get us started on your project with a feasibility report, please visit www.josharch.com/help

Sammamish Deck by Josh Brincko

I definitely enjoy designing buildings, and that makes it hard to say “no” to a project. Many architects and builders will shy away from smaller projects because they are not the best for the bottom line, but I see them as more of an opportunity. This deck project is not “just a deck” to me. It is a way to connect a family from the indoors to the outdoors on a regular basis.

This deck is an extension of their kitchen, dining, and living room. The accordion doors allow an entire wall to open completely onto the deck which is perched above the rear yard looking out onto Lake Sammamish. The deck features a gas fireplace, BBQ, overhead heaters, a privacy accent wall, and motorized screens integrated into the structure.

Here’s some photos to enjoy:


If you’d like to learn more about our design process, visit www.josharch.com/process, and if you’d like to get us started on your project with a feasibility report, please visit www.josharch.com/help

Ordering windows is always a shit show by Josh Brincko

Windows may seem simple. They are not. There are many types, formats, makes, models, materials, codes, etc. Each window you order has dozens of options. Here is an example of just one window on a window order (what language is this?):

window+quote.jpg

Let me first explain the basics of windows starting with how they operate (listed in order of low to higher cost). Fixed, also called “picture,” don’t open. They are “non-operable.” Single hung windows have two “sashes” inside a frame, and one sash slides up and down while the other sash is fixed. A sash is the part of the window that moves, so you can open it. Since the sash on a single hung window only slides up and down over the fixed portion, you can only open half of the window at a time. When it’s open, you now have two layers of glass to look through. When it’s closed, you have a sash obstructing your view halfway through the window. This is my least favorite type of window. Next is a slider that works the same as single hung, except it slides sideways instead of vertical. (Also not my favorite.) Double hung windows are the same as single hung, except you have the flexibility of moving both sashes up and down. Sliders, single, and double hung windows all limit your view out, daylight in, and amount you can open your window for ventilation which is counter-intuitive as to why you wanted a hole in the side of your house in the first place.  Awning windows have no obstructions. The whole sash opens outward with a hinge along the top. The good part is they act like an awning and block the rain while opened, but they usually only open about 45 degrees (so you really cannot push them all the way open). Hoppers are similar to awnings, but the hinge is on the bottom making them tilt outward like a funnel gathering rain to flow into your house. For this reason, many window manufacturers don’t make them, but they are good for venting steam from a shower, for example (if you have large roof overhangs). Casement windows are the last type. These hinge from the side like a door. They have nothing obstructing your view, and you can open them all the way to maximize your ventilation and your view. Just be sure that if they swing out, they don’t hit some other part of your building or into a walkway. These work well for emergency egress windows since they provide a large opening. Some window manufacturers are quite limited in the size they can make casements, however, since they become more unstable as they get wider. Ok, those are all the common window types. 

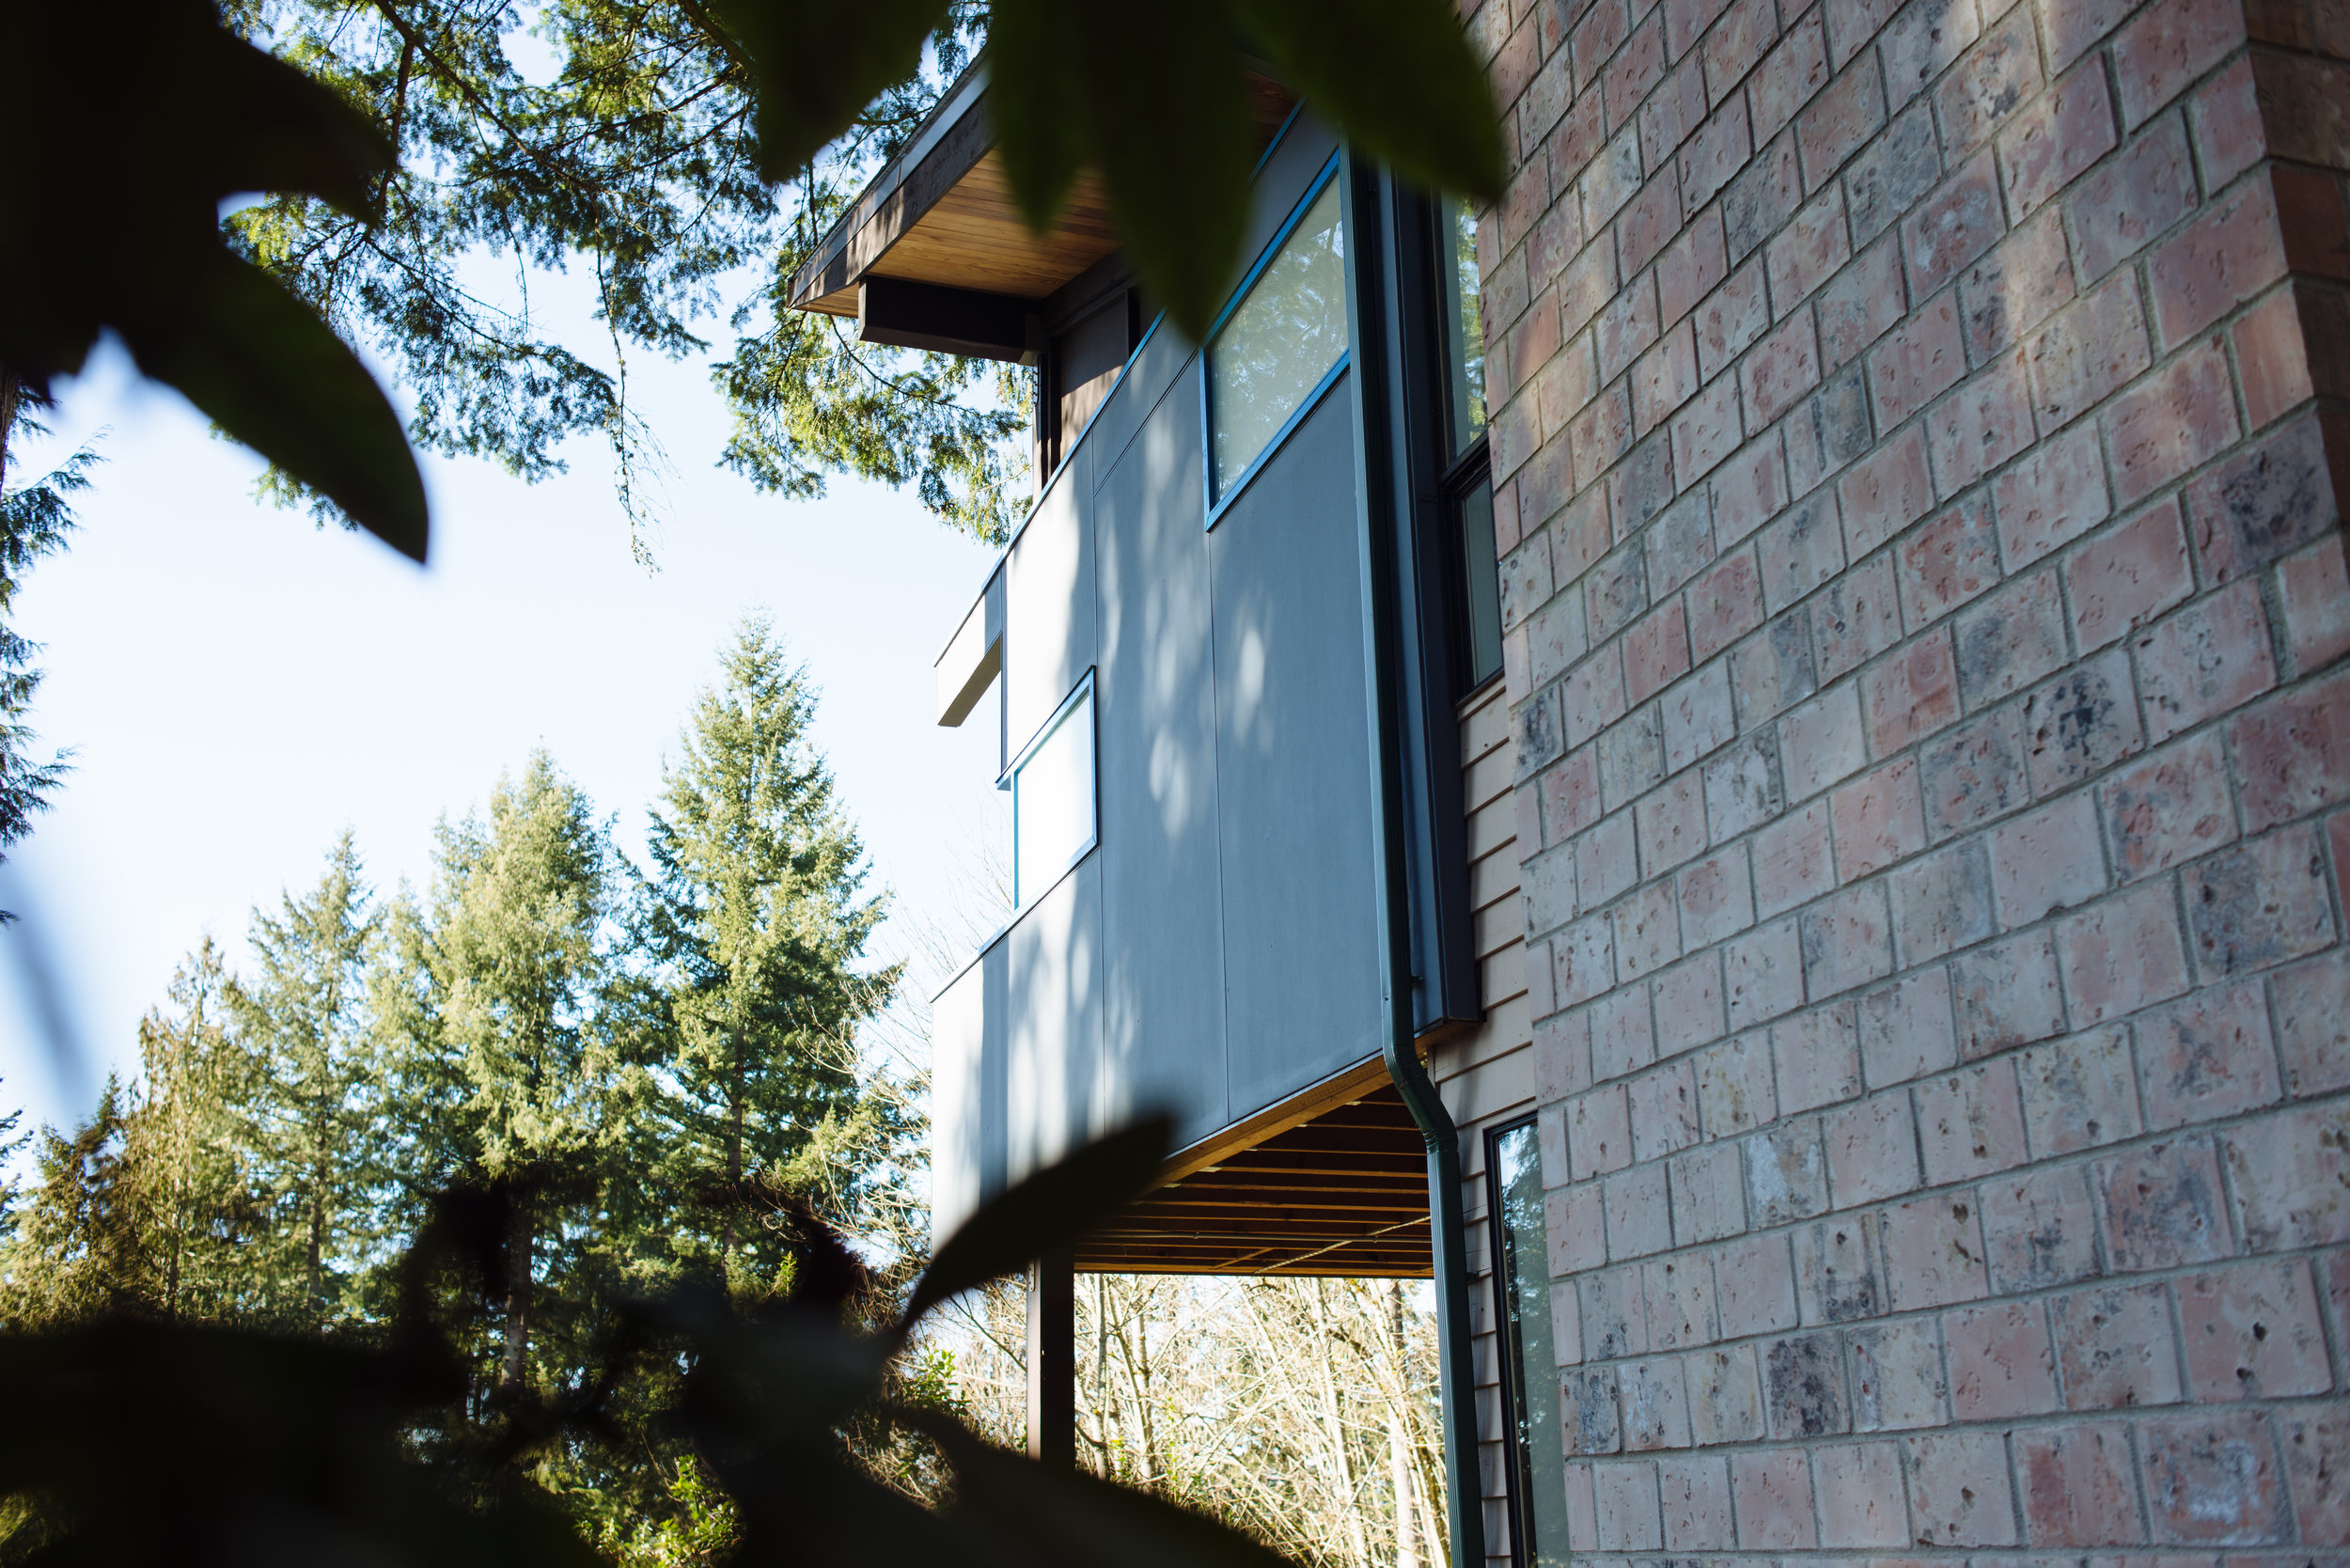
Next we will review materials (listed in order of least expensive to most expensive). Vinyl windows are clunky and commonly used because they are the cheapest. You get what you pay for. The frames are so thick because vinyl is not a strong material. They also warp in the heat of the sun. The thick frames and thick sashes leave little glass leftover. They are also usually limited in color to white and other light, neutral tones. Spoiler alert... we see white windows EVERYWHERE. Why is that? It’s because developers are slamming up one cookie cutter home after another, and they are buying the cheapest materials they can. Take some time and look around in design magazines, look in nice neighborhoods, and look at architects’ websites. You will not see many white windows. You will mostly see black windows (or some other dark color). The dark color looks nicer because it blends in with the glass which makes the window look more elegant and not clunky. It blends in better with the glass since glass is perceived to be black. Go ahead, look at the homes across the street. Notice how dark the glass is (unless they have lights on at night). White windows contrast this too much and stand out like a sore thumb. Back to materials... Fiberglass is similar to vinyl, but it’s stronger and therefore the frames and sashes are thinner. You can also get dark fiberglass. These are a great option for nice windows at a low price point. Some manufacturers will even put a wood veneer on the interior surfaces, so you can paint or stain them and have the look of wood inside without the durability issues of wood on the outside. Wood windows are another option. This is the most traditional type of window, but they are becoming less commonly used because they are expensive compared to vinyl and fiberglass, and they require more maintenance. Wood windows look great though. There are lower price point wood windows with thick, bulky frames, and there are higher price point wood windows with very thin, elegant frames that work well in modern homes. Another material option is wood clad. This is simply a wood window covered with aluminum on the exterior, but it does not actually look like aluminum since it is perfectly wrapped around the profile of the wood. Most people cannot tell that it’s not wood - even from close up. The aluminum cladding offers the longevity and durability while still giving you the warm look of wood on the inside and outside. Another window material is aluminum. The price point can vary from less than wood to more than wood. Aluminum windows have come a long way since the ones you remember in the 80’s with sweaty condensation forming on them. Today’s aluminum windows now have a thermal break, which is a concealed layer of polymer that separates an interior portion of aluminum from an exterior portion of aluminum. This inhibits the heat transfer from inside to outside, and it makes aluminum windows energy efficient (and expensive). Aluminum windows are great because they require no maintenance, and their frames are very thin which maximizes the amount of glass, creating nice, clean lines. The next window material is steel. This is the most expensive material since they are basically custom fabricated out of raw steel. Since steel is so strong, they result in very thin frames of less than an inch commonly. These are very striking windows, but they are not energy efficient. The final material for windows is actually no material at all: stopped-in glass. Stopped glass is simply buying a piece of glass (double-paned) and building your own frame around it within the building. Instead of buying the window frame from a manufacturer, you just use trim to attach the glass to the structure of the building. This gives you the cleanest lines since there’s no visible frame. This is common in mid-century modern architecture. This brings us to our next topic: glass. 

When you buy windows, you are not really buying the glass. You are really buying the frame and sash. The window manufacturers build the frames, then they buy glass to “glaze” into the window frames. They are mostly buying glass from two glass manufacturers: http://www.vitroglazings.com/en-US/Glass/Architectural-Glasses.aspx and https://www.cardinalcorp.com/. I favor Cardinal glass for a few reasons. They offer a better warranty, and their product is less likely to fog (in my experience) between the two panes of double-paned glass. They also seem to get better u-values (this is the measurement of thermal efficiency). They offer a few different glass types that range between a balance of best thermal efficiency, best visibility through the glass, and best limitation of solar heat gain. Cardinal’s i89 coating is a nice balance between thermal efficiency without too much noticeable discoloration to the glass. I also suggest specifying black spacer bars between the two panes of glass. This black spacer bar is more efficient than the aluminum ones that are more commonly used, and the black is also less visible. Any manufacturer can do double-pane and triple-pane glass. Single-pane is not typically done anymore. You can also specify a temporary protective film to be applied to your glass to protect it during construction. It is also important to specify whether or not the glass must be tempered. In certain situations such as in bathrooms, near stairs, near doors, and large panes of glass, safety glass is required by code. Tempered glass will safely shatter like a windshield where sharp shards of glass don’t fall into your lap in a car accident. Additional code requirements relate to egress and energy code. The glass and the window frame must be tested together to achieve a certain u-value, and the energy code must be consulted to determine what u-value is required in your situation. The building code must be consulted to determine which windows must be sized for egress to be large enough (when open) and positioned properly, so a firefighter with an oxygen tank can carry you out of a window when you are passed out from smoke inhalation in a fire. This may seem easy to appropriately size a window, but all manufacturers have different limitations on the sizes they can make for operable windows that meet egress requirements. 

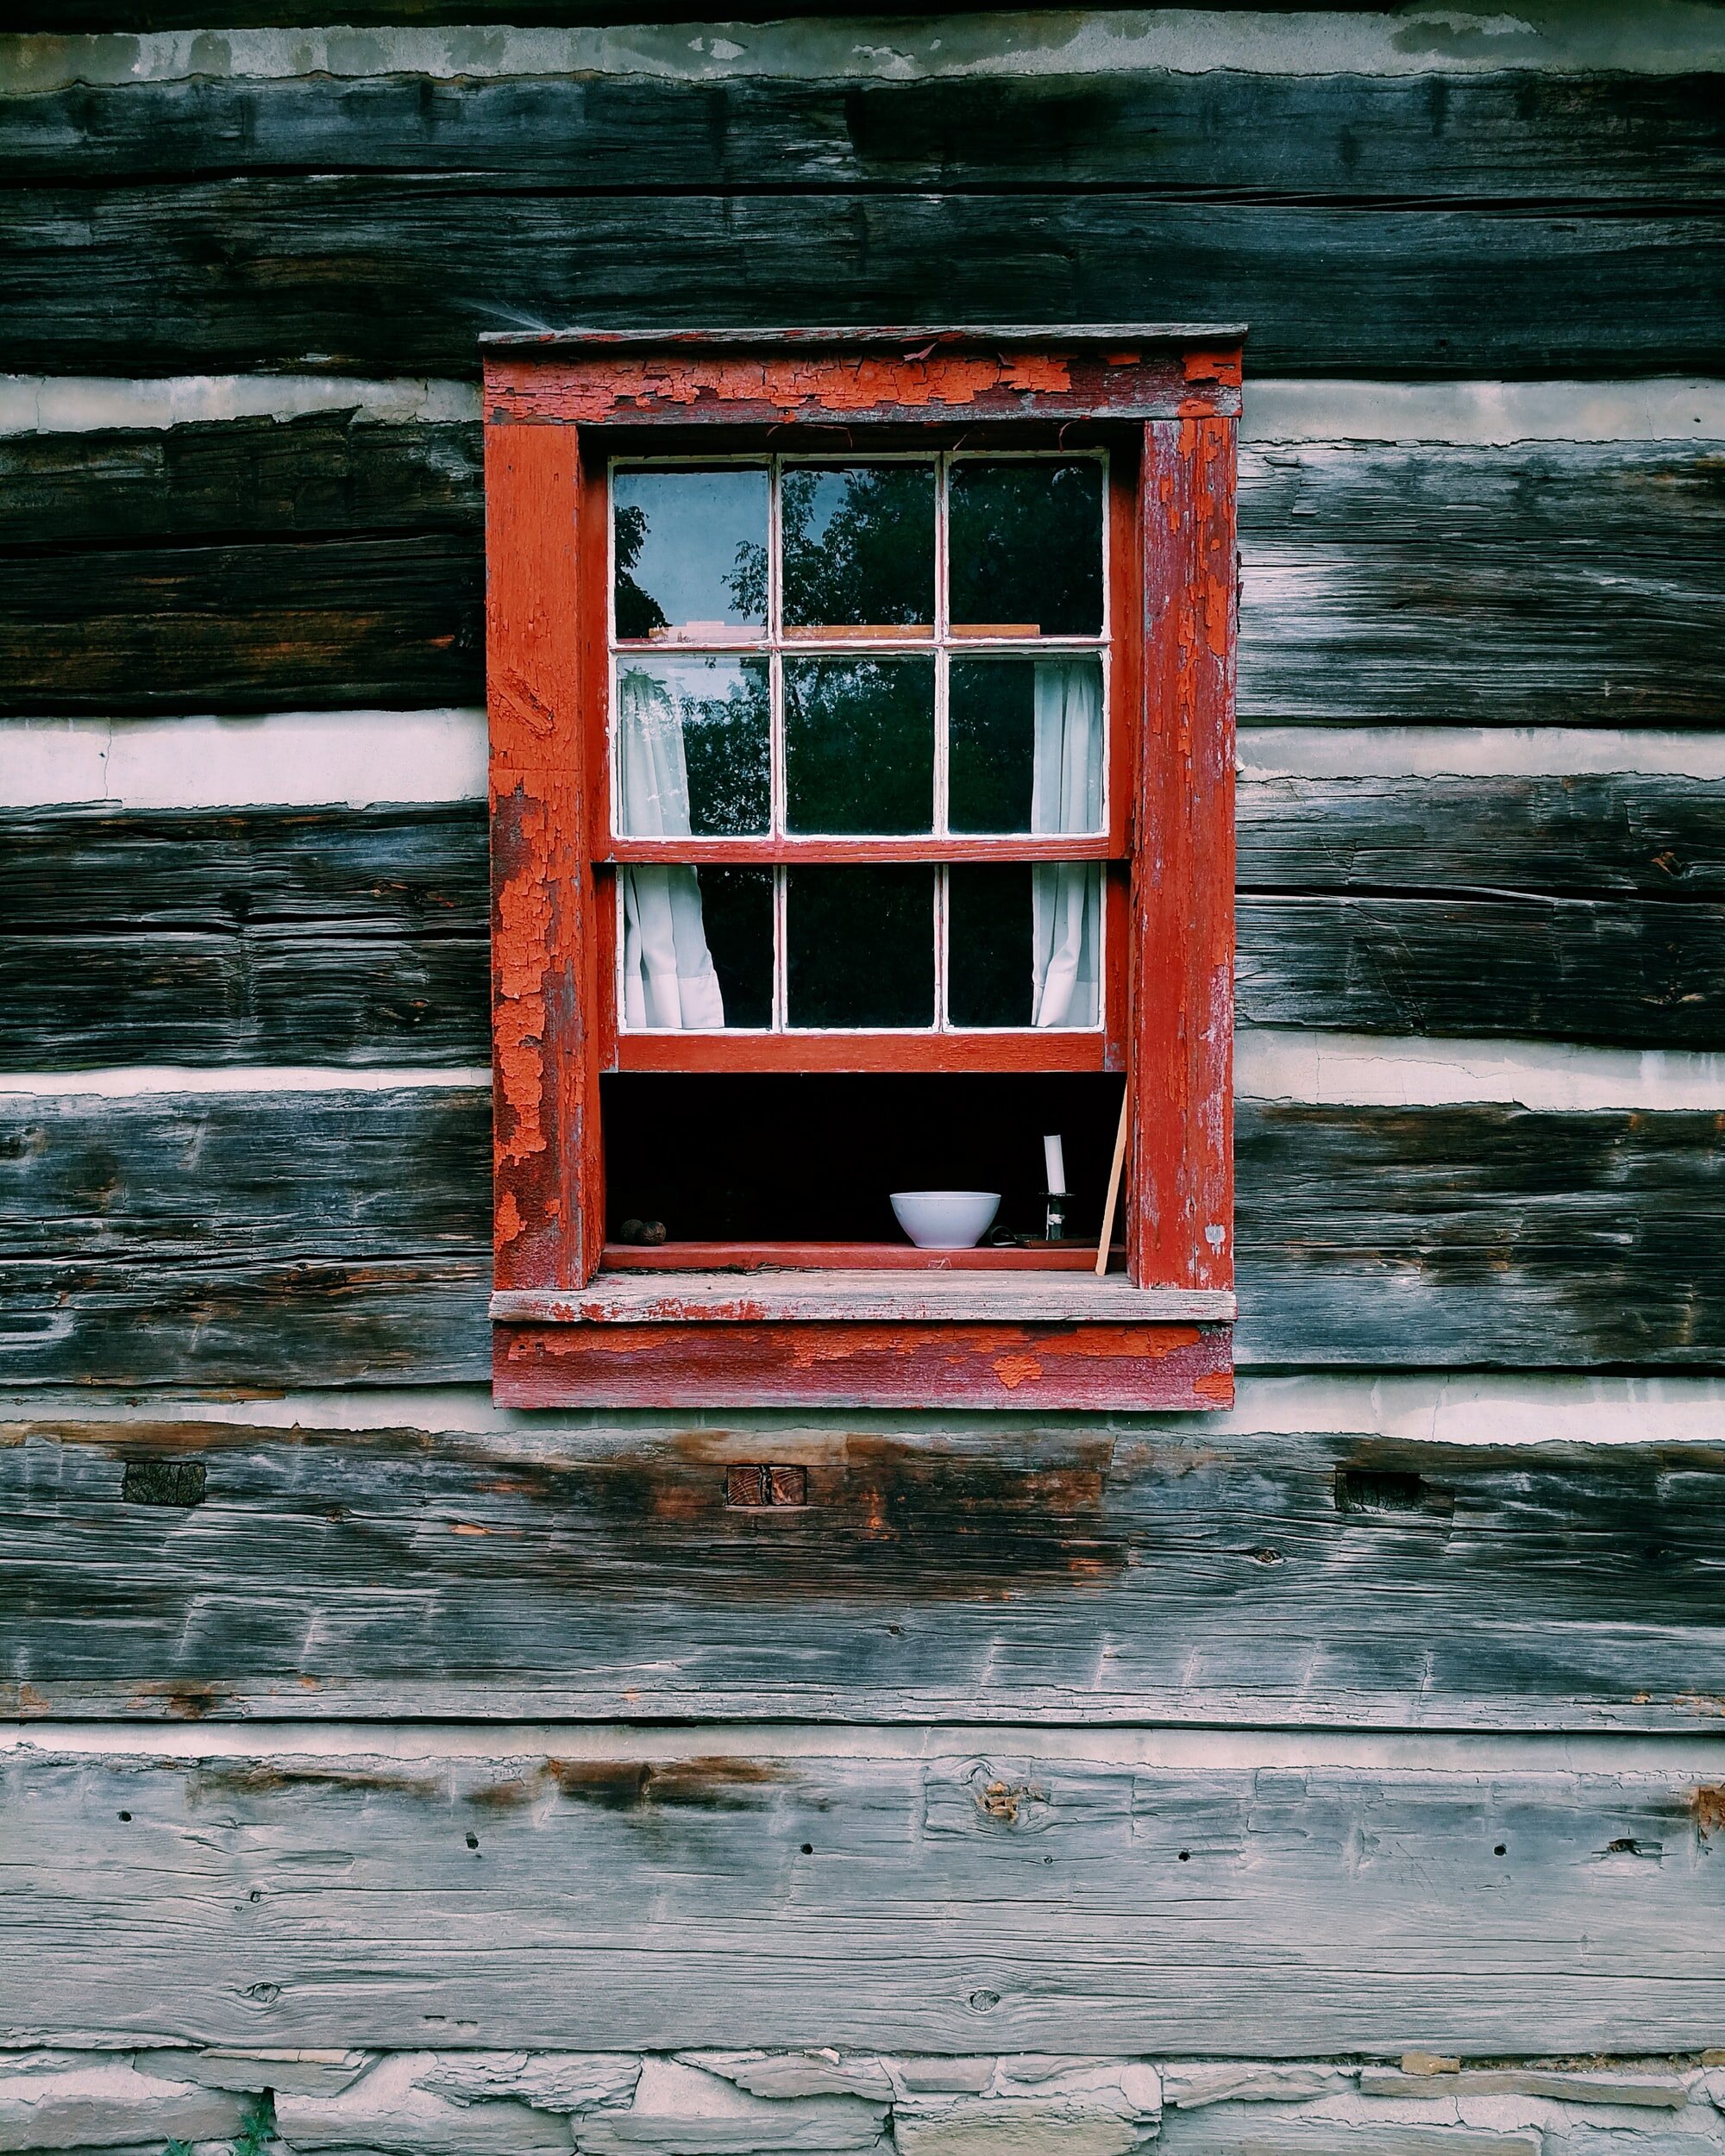
Some additional features that must be decided upon with windows is the hardware. Hardware comes in different colors, different materials, and different styles. For example, the little roto-crank you turn to open a window can be an oil rubbed bronze in a traditional looking style, or it can be white plastic with a more modern style. Or you could eliminate the crank and install your own lockable pushrod or some other hardware that prevents your casement window from slamming open or shut in the wind. Screens are another option. The screen can come in different colors, and so can it’s frame. It can sometimes be hinged, retractable, or removable. Windows can also be separated into different panes of glass (known as lites). The option to install “muntin bars” on your window makes them look more traditional. When glass was first invented, the pioneers could really only make it about the size of a sheet of paper before it got too frail and would break. For this reason, they put muntin bars between several window lites to enable the overall window to be bigger. Today, we can either simulate this, or do it for real. “True divides lites” (TDL’s) have real muntin bars that separates each lite of glass. This is expensive, but it is authentic. You can also fake it by putting simulated muntin bars either between panes of glass or on the interior and/or exterior surface. This looks fake when you look up close. When you have the bars between the panes of glass, it looks even more fake from afar since the glare on the glass does not create a shadow line on each muntin bar that would traditionally be on the surface of the glass instead of between the two panes. Other options you may find on the window order include the shape of the window frame/trim, thickness of the wall it will be installed within, colors, wood species, pre-finished/painted, and so much more.

With so many options, requirements, and technical issues relating to windows, it is appropriate to acknowledge that ordering windows is a major task, and it is also very iterative. Ordering the windows at the right time of the project is crucial too. In some situations where precision is not required, the windows can be ordered before the walls are built (and the walls can be built based on the window order). In other situations, the windows must be ordered AFTER the walls are built, so precise measurements of the walls can be taken to facilitate ordering windows of a very specific size that allow the desired alignments with architectural features such as trims, beams, adjacent doors, etc. This leads to a slowdown in the project schedule, but there’s no way around it when precision is desired. It is important to visit window showrooms and test the different window products, so you can see how they look and feel. The architect and window suppliers go back and forth dozens of times (usually resulting in over 100 emails/calls) to fine tune the window order to get each item correct for the capabilities of each window manufacturer, so you may compare the costs, pros, and cons of each item before signing on the approval line. Windows are one of the biggest material purchases for your project, so it is very important to dedicate the time necessary to get it right. 

If you’d like to learn more about our design process, visit www.josharch.com/process, and if you’d like to get us started on your project with a feasibility report, please visit www.josharch.com/help

Smaller homes cost more by Josh Brincko

I’m always trying to figure out what makes construction expensive. I tend to design higher quality small projects. We know quality costs something extra, but smaller doesn’t necessarily make things cheaper though. Small projects have all the same amenities as large projects. For example, a 2 bed, 2 bath, 1000sf home has the same cost for plumbing as a 2 bed, 2 bath, 2000sf home.

Here’s an analogy. Imagine a 12oz can of soda sells for 50¢, and a 24oz can of soda sells for 90¢. Double the soda is a better value, and they actually make a BETTER profit on selling the bigger can of soda. Let’s say 12oz of soda costs 5¢ to create, the 12oz aluminum can costs 5¢ to create, and the pull tab (which has the highest concentration of aluminum) costs 5¢ to create. That’s a total of 15¢ of materials for a 35¢ profit. Profit is 70% (ignoring things like insurance, marketing, etc).

Let’s say 24oz of soda costs double at 10¢ to create, the 24oz aluminum can costs double at 10¢ to create, and the pull tab still costs the same 5¢ to create. That’s a total of 25¢ of materials for a 65¢ profit. Profit is 72% even though you are getting more soda for less money per ounce.

Buildings work very much the same way. When you proportion out the costs of required amenities throughout the square footage of the building, the bigger building is a better value. Items that are the same exact cost on big projects and small projects include things like: surveys, waterline connection, sewer connection, electrical connection, gas connection, driveway, engineering a 10’ beam costs the same as a 20’ beam, drawing a 100sf room costs the same as a 200sf room, mobilization costs for the builder and subcontractors, the sani-can rental, most tool and equipment rentals, etc.

You can see there’s a lot of items that have a fixed cost that is irrelevant to the size of the project. This makes the cost per square foot of small projects get higher while larger projects get lower. A $20,000 waterline connection fee from the city is a big deal for a $400,000 home but not such a big deal for a $4,000,000 home. You get the point? 

I’m sure you will do a good bit of research and find average square footage costs on the internet. These are often very deceiving because they are often based on the past, and construction costs continue to rise over time. Also, they are often based on other locations or averages of locations instead of a place like Seattle that is one of the most expensive places to build with difficult soil and seismic activity requiring expensive foundations. The low supply and high demand doesn’t help either. Lastly the cost per square foot model gets so far out of line when you are proportioning it over a small project (anything under 2000 sq ft). This is partially why remodeling is so expensive (not to mention all the cost associated with protecting an existing house while builders surgically work on it to make the old stuff and new stuff match). It is common for a simple home in Seattle to be built for over $400 per square foot. It is also common for a similar quality, but smaller home or addition with the same amenities to be built for over $600 per square foot or even over $1000 per square foot if the home is even smaller. It is helpful to bear this in mind when doing your preliminary planning. 

If you’d like to learn more about our design process, visit www.josharch.com/process, and if you’d like to get us started on your project with a feasibility report, please visit www.josharch.com/help

How to fire your architect (so you can work with Josh instead) by Josh Brincko

Several times each month, I have been chosen as the “relief pitcher” when someone’s original architect doesn’t work out, so here’s your tutorial on how to fire your architect. This will be helpful whether you want to switch architects mid project, whether you are thinking about terminating architectural services, or you just aren’t sure you have the right architect. This usually happens when: the architect is too busy to care about the project, or they can’t design something the client likes, or they are not willing to do what it takes to get permits approved. Often, an architect vanishes and steals the retainer deposit. I have developed a reputation for being successful in these situations, and I’m often the first suggestion that builders offer to their clients when the original architect that the client found doesn’t work out. Builders are in a position where they can really recommend anyone, and they commonly choose me since they find me to be an effective member of the team. If you have questions about your exact situation, feel free to reach out for our opinion (office@josharch.com). Sometimes we may determine your architect has not delivered services pursuant to the standard of care, and other times we may determine the client just has unrealistic expectations - this is often the case. Either way, we are happy to weigh in.

So here’s how to fire your architect for just cause (this would also work for firing me, by the way): 

1. Read your architect’s contract. Ensure there are no legal or financial ramifications for terminating. Be smart about it, and terminate at the right time to avoid loss of work, time, and/or money. Don’t terminate until after they have given you the latest work they have developed. Don’t enable the architect to hold the work hostage. I’ve seen situations where other architects have behaved unreasonably in regards to turning over the work that the client paid them to do. Send your contract to Josh to review and offer advice if in doubt.

2. Make sure there is an invoice that still needs paid. This is your negotiation point that gives you the upper hand if the architect does try to hold your work hostage. Be aware of any retainers, and be certain you can get any retainers returned. Consult with the new architect for strategy here. I personally don’t collect a retainer for my design work because I think they show a lack of trust between both parties, and I am confident I will be successful in earning the money by providing a valuable service that the client is happy to pay for.

3. Before you break the news to your architect, ask them if you can have the AutoCAD files. Let them know your nephew is trying to learn CAD for a school project, or you just want to have an extra source of file backup, or whatever your situation may be. Give the architect a good reason for them to WANT to give you the CAD files. The files are technically the property of the architect usually, and they do not typically have to give them to you. For me, I let others use my files because I think it’s the ethical and most efficient thing to do. There are a lot of architects that will not let go of their files though. If you can get these CAD files, it will save your new architect a lot of time, and this saves you money. Also ask for the 3D model files if the architect has done any 3D work. Tell the architect you are trying to learn Sketchup, and they will likely be impressed by your diligence and give them to you. It’s free software, and you should try to tool around with it anyway to more effectively understand your building design.

4. If you cannot get the CAD files, at least get the most recent PDF files, and insist that the architect adds dimensions to them (if they are not already on there) since the new architect will need to redraw everything that has been done up to that point. Also ensure you get the documents from consultants such as survey, geotech, structural, and civil engineers. 

5. Compile all of your files onto an email or thumb drive to give to your new architect. Be sure you include everything such as drawings, permit forms, and any other documentation created for your project. Your new architect needs to somehow figure out where you left off without repeating work that was already done. Keeping the files concise and organized will make this job easier. For example, combine all of your permit documents into one PDF file named “permit documents” instead of giving the new architect 59 randomly named files that he or she will need to open, analyse, understand, and determine what to do with them. Make the hand off easy by naming the files and combining similar items. I once had someone send me hundreds of image files. Some were drawings, and some were inspiration images. I needed to open each one individually to determine what to do with them. All of those inspiration images could have been combined into one file.  

6. Once you get the files for the work you requested, you should pay the architect for ALL of the work they did. If they did work you requested, you should pay for it - even if you don’t like the work. It will still be useful work moving forward because design is a process of elimination of sorts. The key is to be fair to one another. Don’t withhold payment for longer than your contract allows (some public libraries offer free mediation services if something cannot be resolved quickly).

7. Now it’s time to fire your architect. If you’re not comfortable doing this, thank them for their help thus far and let them know you are going to step back from the project and may take it in a new direction - that way they won’t take it personally (if that bothers you).  

8. If you did inform your architect that she or he is fired, let them know that you have already started working with someone else, and give them some constructive criticism, so they can improve.  

I hope you find this helpful, and I hope you don’t use this tutorial on me:) 

If you’d like to learn more about our design process, visit www.josharch.com/process, and if you’d like to get us started on your project with a feasibility report, please visit www.josharch.com/help

Heather by Josh Brincko

heather.jpg

Heather is a silent but loudly helpful voice in the background of Josh Architects. Heather hears all of the tricky planning situations that Josh encounters, and she always offers sound advice. She is the wife of Josh, and she also came up with the idea to start the company. 

Long ago, Josh ran his company as, International Studio, which started back in 2004. Josh has an interest in the “international style” due to its simplicity (and it actually has a lack of style). It works anywhere in the world and is timeless. By working with what you have, the solution is innately born without any added useless decoration. International Studio was named after this concept, but it was also a name that appeared to be a larger brand that could appeal nationally and beyond. This enabled Josh to focus on his interest in furniture design and appeal to manufacturers around the world. After a few years of chasing this dream, it was realized that there were more architecture commissions coming in than furniture ones, and designing furniture was not necessarily the goal. Josh really just liked furniture design because it was fast. You can design something and see it built in the same day if desired. What Josh really likes is designing, and furniture design was just a way of designing more frequently. As more and more architecture commissions came in, Josh also realized the furniture design industry was a broken system, and he found that he was actually getting his fair share of design opportunities with architecture alone. 

This is where Heather stepped in. She is a brilliant advisor with a keen sense of marketing in our digital world. She studied journalism and mastered in digital marketing, she worked at Microsoft, Real Networks, and Disney/ABC, and she is now a prolific artist and respected photographer. She recognized that Josh’s work appealed to people in his community because they appreciate his personal interest in their design problems, he offers a high level of personal care in his service, and he is truly an expert in designing homes in the Pacific Northwest. She pitched the idea to him. She told him, “you are not a corporate architect. You are an artisan architect. You need to sell you - not some company.” That is where Josh Architects was born. The official business name is Josh PS. Architects are considered professional service providers like doctors, lawyers, and accountants, so we have to put PS after our business name instead of inc like other businesses. So technically, the business name is just “Josh”. 

Heather played a pivotal role in helping Josh succeed since his brain is so buried in the craft of designing homes. She was thankfully able to see the bigger picture and put it into action. She setup the website, she crafted the story, she took all of the photographs of the work samples and headshots, and she curated the video on the website. We owe this whole image to Heather. It’s not really an image. It is real. It is who Josh really is. It is his passion, and he owes it to Heather for helping him see it. 

-Written by Josh in the third person (since it sounded confusing to me in the first person). Thank you, Heather! Much love! 

If you’d like to learn more about our design process, visit www.josharch.com/process, and if you’d like to get us started on your project with a feasibility report, please visit www.josharch.com/help

Can I reuse my old windows? by Josh Brincko

You can, but... 

Here’s the thing. Old windows do not meet energy code. When you install a window, whether it’s in a new window opening or an existing one, that new window must be compliant with the minimum insulation values dictated by the current edition of the energy code.  Your old windows likely do not meet the requirements of the energy code since the energy code is updated every three years to require windows to be more energy efficient.  

Additionally old windows must be removed in order to be reused. The process of removing the window is really not that hard. A laborer could remove a window in 15 to 30 minutes. This assumes the laborer does not need to take any precaution to try not to damage the window during removal. If the laborer is supposed to maintain the quality of the window during its demolition, the process of removing that window will simply take longer. The laborer will need to ensure the window is more surgically removed to prevent any scratches, breaks, cracks, or any other defect from occurring during a demolition process that is typically not a very eloquent process. Once the window is removed, it would also need to be rehabilitated. This means the laborer would have to spend time scraping caulking and other adhesives off of the window frame to ensure it is clean and ready for re-installation later. The laborer would also need to make any repairs to the window to fix any inadvertent damage that may have happened during the removal.  This prepping and repair will certainly take a good amount of time. I would estimate at least around four hours of time would be spent just to get the window ready for re-installation. Once the window is ready for re-installation, then it needs to have a strategy to make installation possible. New windows have more efficient hardware known as flanges that enable them to be installed more easily than older windows. Since older windows do not have a nail flange, they must be installed with a different method that involves shimming and caulking that also takes more time and results in a less watertight outcome. The installation of a new window, with its nail flange, is a quick and easy process. It usually takes half the time of an install of an old window. It also gives you a more watertight seal. With all things considered, it takes much longer to deal with the removal, prep, and installation of old windows when trying to reuse them. New windows simply take less time to install and result in a better outcome.  And they actually look like new windows because they are new windows. The cost of purchasing the new window is typically easily offset by all the additional costs that it takes to attempt to reinstall old windows. Using new windows is a much better deal typically.

If you’d like to learn more about our design process, visit www.josharch.com/process, and if you’d like to get us started on your project with a feasibility report, please visit www.josharch.com/help